
Configure LoopMeeting with ProDVX
Back
This is a guide to install LoopMeeting on ProDVX panels. It applies to APPC-10SLBN, APPC-10XPL and APPC-10SLBe
- Download the ProDVX installation kit. https://loop24.no/prodvx.zip
- Unzip the file to for example c:\adb
- Connect your Pro DVX panel to your computer with USB cable USB to Micro USB
- Make sure your panel is powered either from POE or Powersupply
- Enable panel to be in “Developer mode” On the panel:
- Enter settings, select “About device”
- Go to the last line in “About” that stated the “Build number”
- Tap on the “build number” fast until it states you are in developer mode
- Go back and enter settings menu “System”
- Select “Developer mode”
- Scroll down and enable “USB Debugging”
Start a Command/Terminal prompt
Go to the directory where you unzipped the downloaded ProDVX installation kit files. (c:\adb)
Run command “adb devices” to make sure the ProDVX device is connected and running.
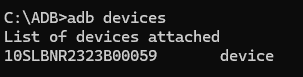
When device is confirmed connected like the above example show
Run the following command: “prodvx.cmd”
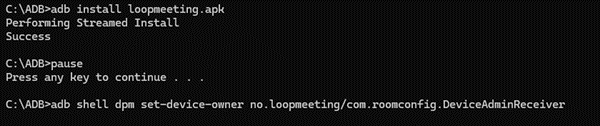
LoopMeeting app is now installed and set as device owner.
For security reasons turn off android developer mode
- Enter android settings
- Select “System” and “Developer Options”
- Turn off “Use developer options”
Reboot the device and LoopMeeting app should automatically start.
