This description takes you thru the steps needed to get your LoopBooking environment ready to connect with LoopMeeting. Please follow the steps carefully and do not skip any of the steps described unless they are marked as optional.
LoopMeeting is an Android application preinstalled on LoopMeeting android panels. LoopMeeting communicates directly with LoopBooking thru a direct integration using LoopBooking API’s and HTTPS interface protocol with TLS 1.2 Encryption.
2. Prerequisites
You need to have an account at the roomconfig console https://lm.roomconfig.com The LoopMeeting application needs an integration key and an account with building admin rights.
3. Create LoopBooking admin user and integration key
Log in to you LoopBooking tenant with role “Building Admin” https://”your_loopbooking_domain”.loopbooking.no
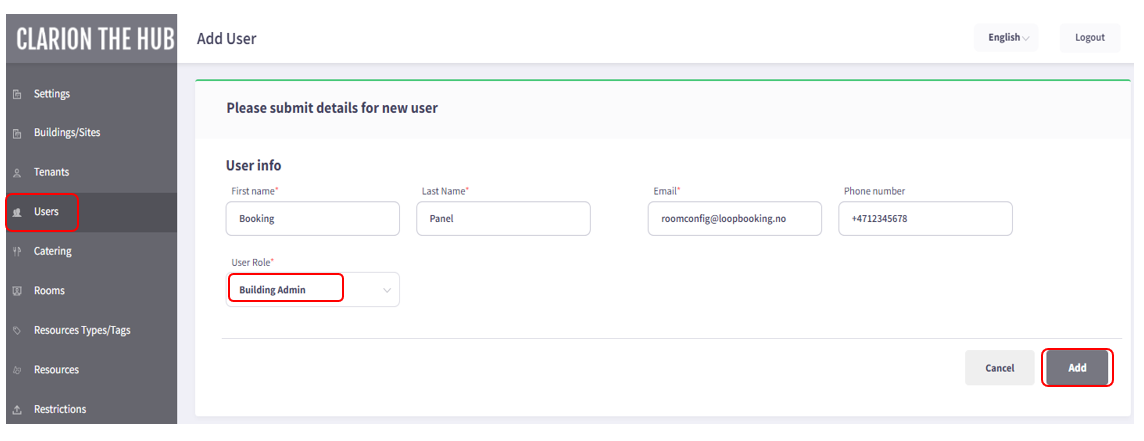
Select “Users” in left menu and select “Add User” Create a new building admin account, the email address does not need to be a real address, just create a fake account. Add the account.
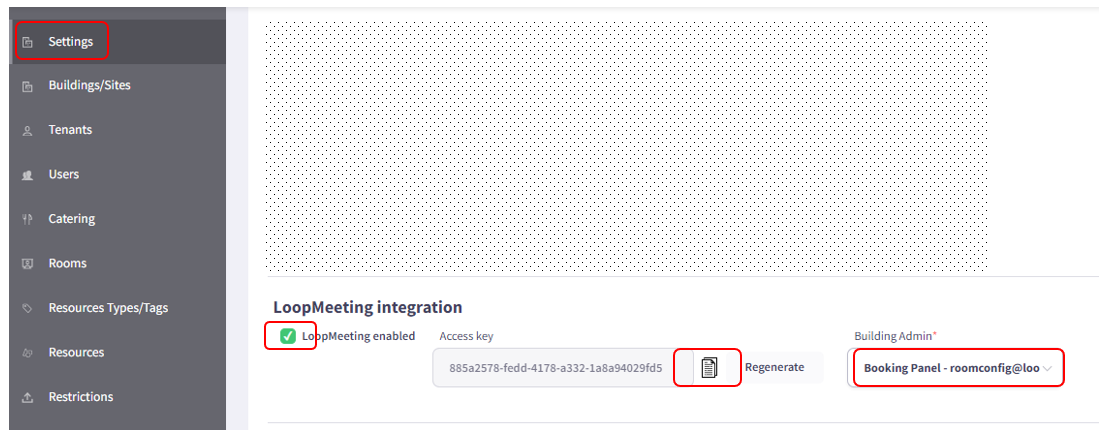
Select”Settings” in the left menu and scroll down to LoopMeeting Integration settings.
Enable LoopMeeting integration make a “copy” of the Access key (Paste it temporary to notepad)
Select the building user account you creted i previous step.
4. Configure LoopBooking server settings in configuration console
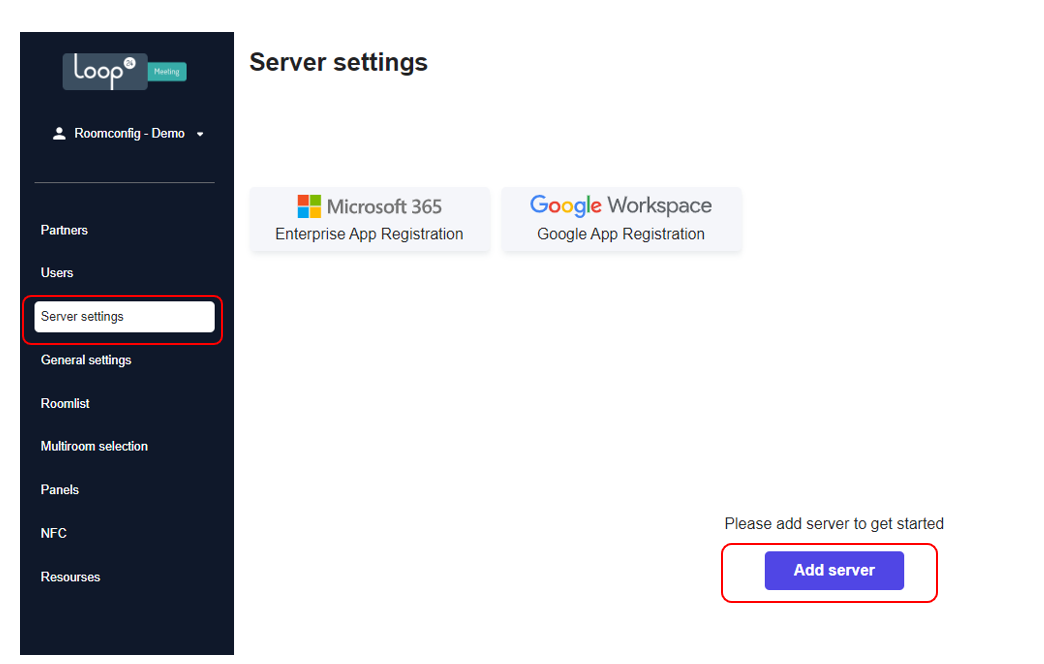
Log in to your roomconfig configuration account.
Select “Server Settings” in left menu and select “Add Server”
Select server type “LoopBooking”
Enter the URL to your loopbooking environment
Paste the access key from LoopBooking (step 3)
Press “Test connection” If connection OK it will give you an option to Save.