For LoopSign to be able to work it needs to be registered as an enterprise application in Azure AD. (This only needs to be done once by the Global administrator). Log on to your LoopSign account https://edit.loopsign.eu. If you do not have an account, please create an account for your company.
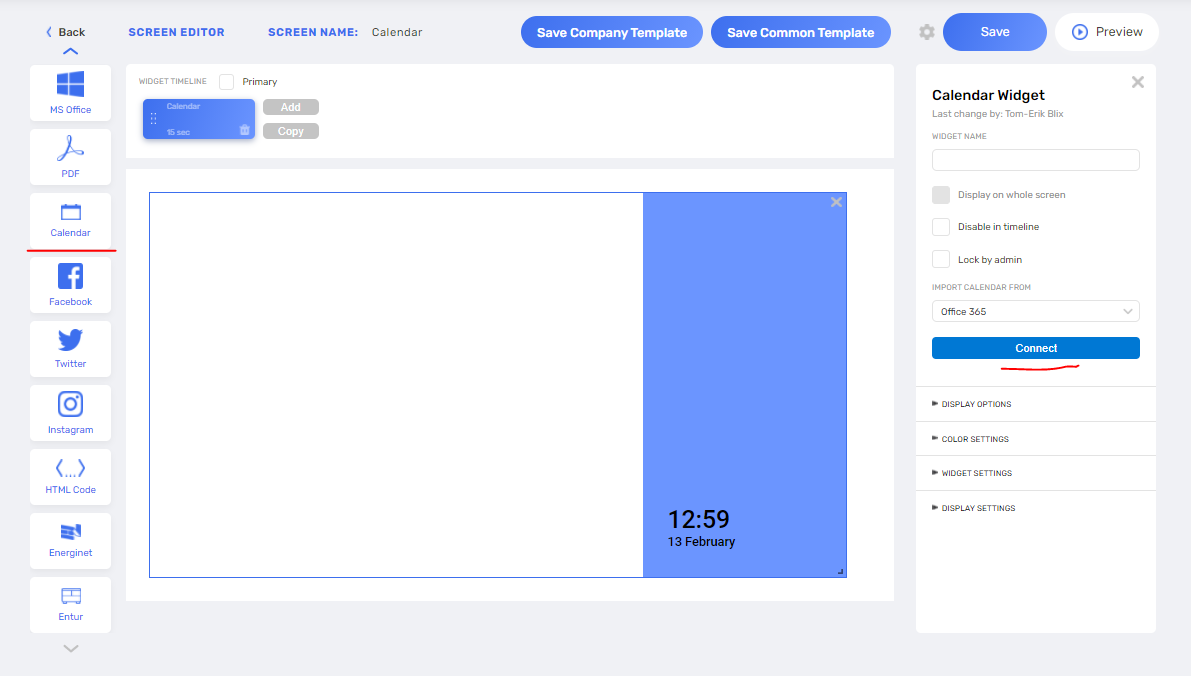
Add a new screen to LoopSign, give it a name and edit the screen. (For more information on how to add a screen, see this tutorial) Add the Calendar Widget to your editor by “drag’n drop” and press the “Connect” button”
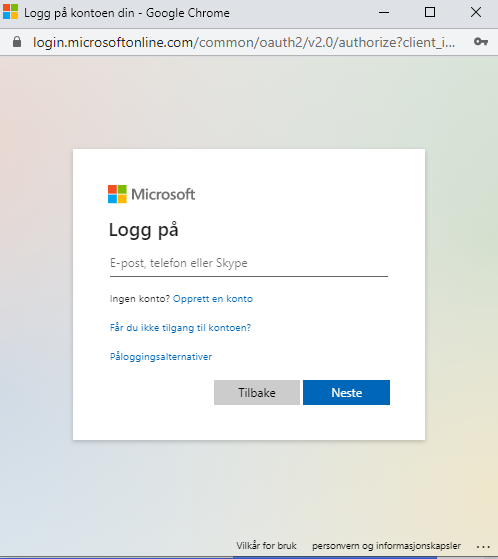
Log on with your “Global Admin” account
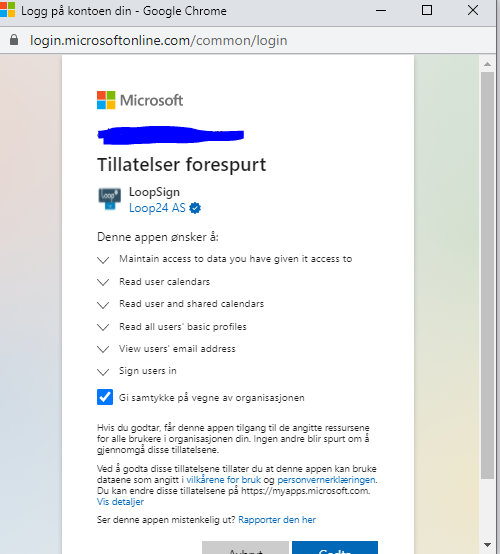
Give your consent for the access required
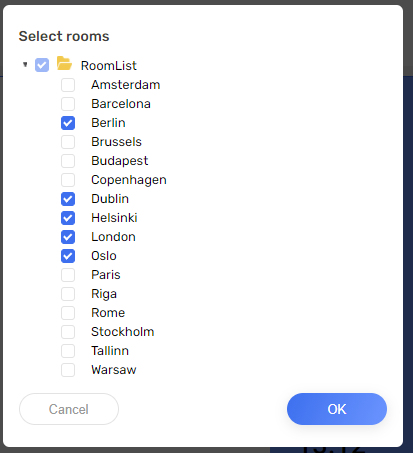
Select the rooms you want to show (Just to make sure it is connected)
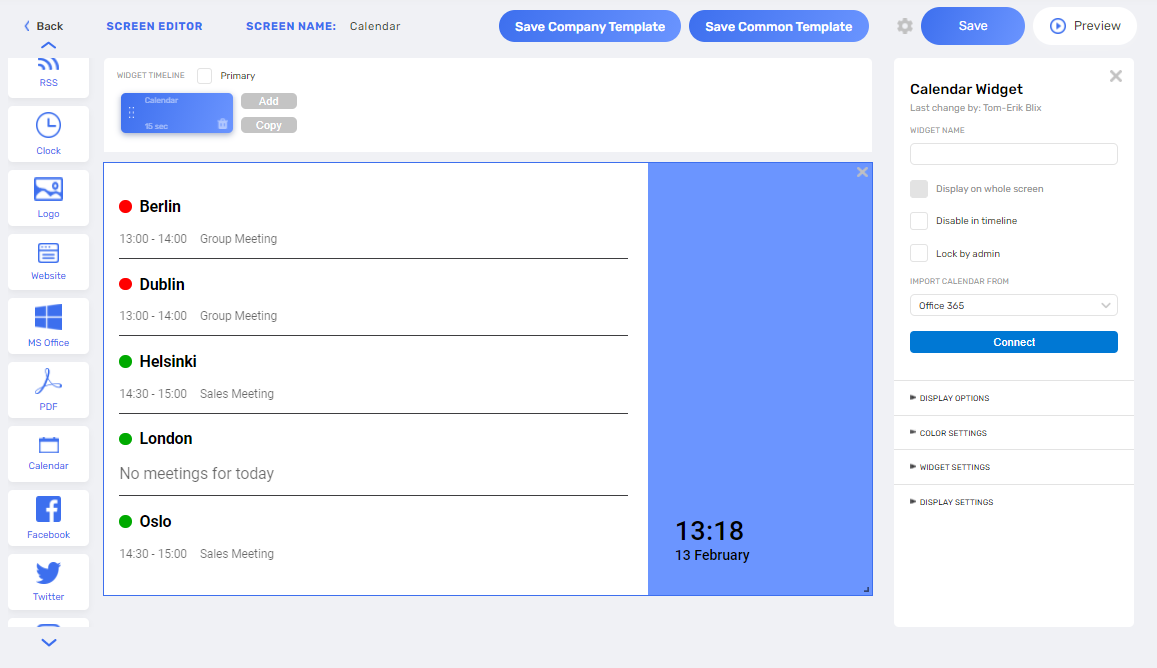
The your editor should look like shown below – with events for the different rooms you have chosen.
Don’t worry about the layout and colors – there are lot’s of options to change the design later on.
Now you can just save and exit the LoopSign Editor – and even delete the screen you have created. Cause the main goal with this task was to get the LoopSign Application registered in your Azure AD Enterprise Application repository.
Now, log on to your Azure AD Portal Useing your Global Admin Account.
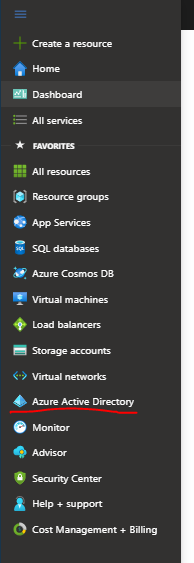
Select “Azure Active Directory” in the side menu
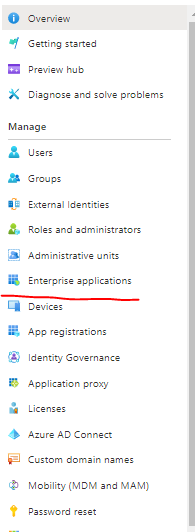
Then select “Enterprise Applications” on the next menu
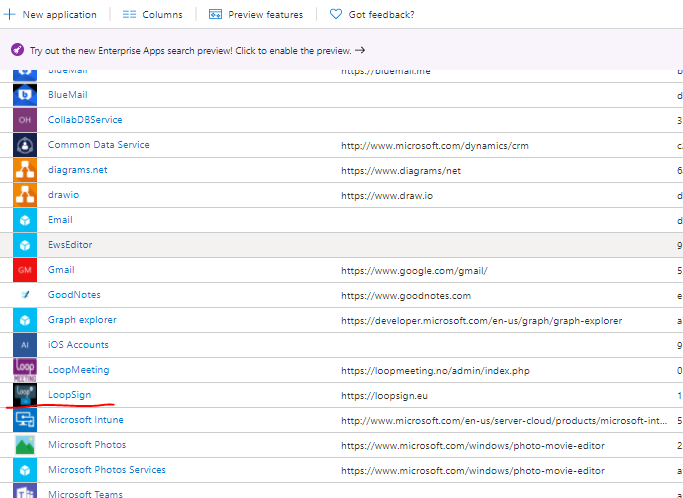
Find the “LoopSign” Application in the list and clik on it.
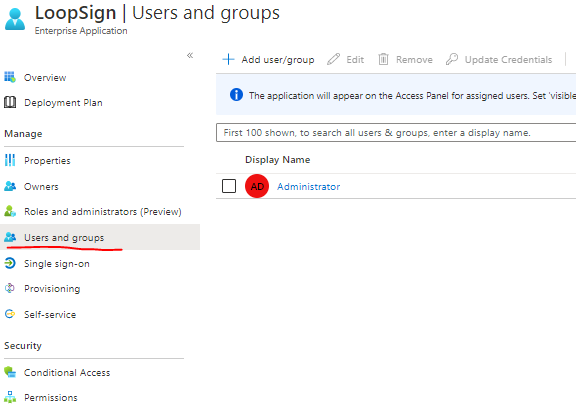
Select “Users and groups” in the side menu.
Click the “Add user/group” in the top menu
Add the user you created in “Step 1 – Create Service Account.”
Assign the user to the application.
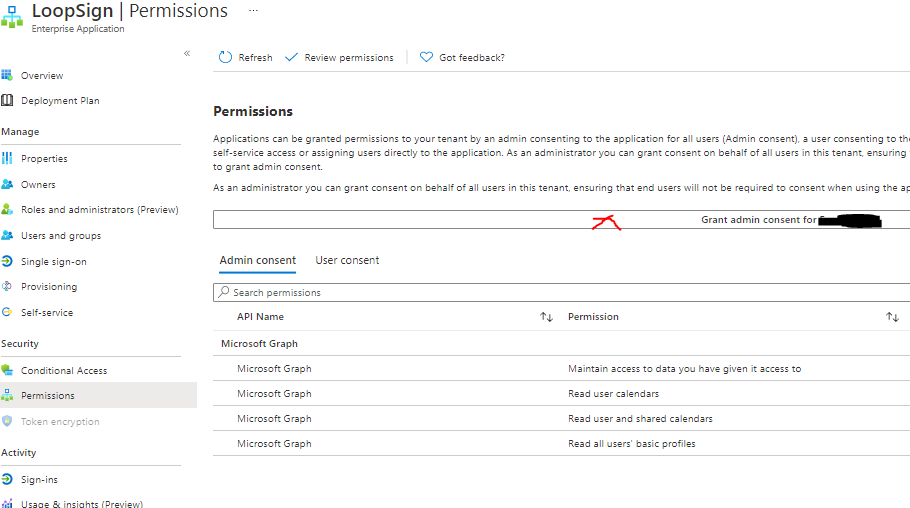
In case some user has tried to add the app earlier without the right to add administrator consent make sure that you as Global Admin give th app the consent on behalf of the organization.
Select Permissions in the left side menu and press/select the “Grant admin consent for “your company” (marked with red)
This is it, now your organization is ready to show meeting rooms schedule in LoopSign.