This description takes you thru the steps needed to get your Microsoft Exchange ready for LoopSign. Please follow the steps carefully and do not skip any of the steps described unless they are marked as optional.
LoopSign Exchange calendar Widget communicates directly to the Exchange environment by utilizing the EWS API’s useing HTTPS interface protocol with TLS 1.2 encryption.
2. Prerequisites
The LoopSign Calendar Widget needs a service account that has rights to read the resource calendars (Meeting room calendars). Due to Microsoft throttling policy one account should only be used on up to 15 different screens. So please create one service account pr. 15 screens that are to show the room schedules. More information on the Client throttling policy can be found here – EWS Throttling
LoopSign needs all of the rooms that are to be shown to be present in one or several room lists. By default rooms are not organized in any lists, so if your exchange is not configured with room lists, please do so.
3. Communication Protocols
For the LoopSign to be able to work it needs HTTPS (port 443) communication to the Exchange environment – and EWS needs to be enabled. (By default it is enabled in Exchange) Default address to the EWS is https://”mailserver”/ews/exchange.asmx
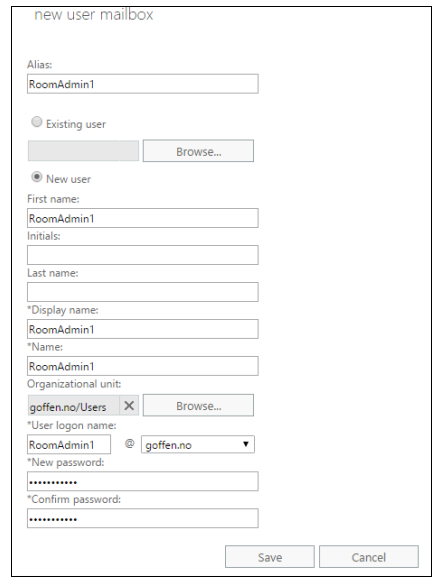
4. Create a service account
Start the Exchange Control Panel (ECP). (HTTPS://”mailserveradress”/ecp) And create a new mailbox for the Service account user.
Make a note of username and password, this will be needed in the LoopSign Exchange Widget.
5. Create room lists
For LoopSign to actually be able to extract your rooms from your Exchange environment they need to be present in a room list. If not – no rooms will appear in the Calendar Exchange widget.
If you already have room lists in your environment and the rooms you want to show are present in at least one list you can skip all the following steps.
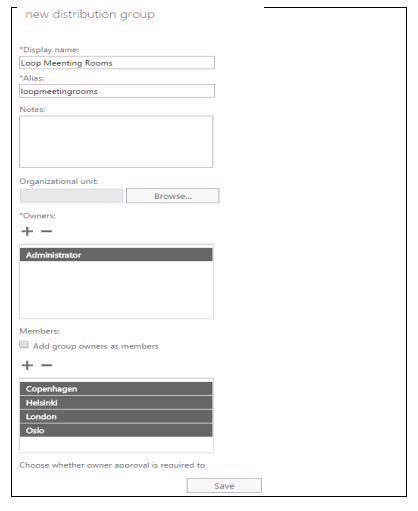
Select “Groups” in the “Recipients” menu selection in ECP Press the + sign and create a new “Distribution Group” – Fill in the information of the roomlist. – Remove the selection on option “Add group owners as members” – Add rooms to the member list
At this point the list is just configured as a “Distribution Group” So the last step is very important – to convert the “Distribution list” to a “Room list”
5.1 Convert the "Distribution list" to a "Room List"
You need to convert the distribution list to a Room list. This can only be done in the Exchange Management Shell (Powershell). This cannot be done in the Exchange Management Console. Run command to convert the Distribution list to a Meeting Room list.
Run the following command in the Exchange Management Shell: